Linux and WSL2 - Part 1
How do you run Windows applications on Linux? Or vice versa.
First, I would like to wish you all the best for the year 2021.
Since version 3.1 of the Uno Platform you can now also run your application in Linux.
“Why would I?” you ask yourself? Because there is a large community that runs on Linux only.
Wouldn’t it be nice to be able to run your Windows application on Ubuntu, Suse or Kali Linux?
In May last year, Microsoft released version 2004 of Windows 10 that includes the long-awaited WSL2.
Compared to WSL (or WSL1), this is a full Linux kernel running on Windows.
The arrival of WSL2 is a real gamechanger because it integrates for example Docker containers seamlessly with Windows while running on Linux.
Actually, the integration of Windows and Linux is so good, that you don’t really need a dual boot to run Linux anymore. Out of the box you can run all your favorite Linux programs on a Windows machine.
For me, the need to switch to a dedicated Linux system or VM is completely gone.
But can we also run GUI Windows applications with this?
Can we use an original UWP application to run it natively on Linux without using a virtualization layer like Wine?
The answer is yes!
Unfortunately I didn’t get this working according to the documentation on Uno platform so I chose a slightly different approach.
Install WSL2
Let’s get started right away. We’re going to install WSL2 and set this version as standard.
By default, it is still installed as WSL1.
We can use powershell scripts, but I prefer the GUI-way here.
If there is no other way, only then we use powershell. ;)
- Press Windows-Start and type “Turn Windows features on or off”
- Check the item with “Windows Subsystem for Linux” and then click Ok
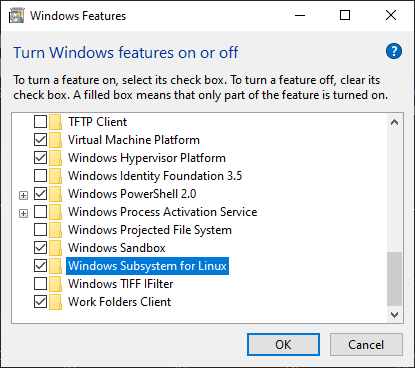
- After installing this part, you will need to reboot your PC.
Before we can install a Linux distro, we first need to put the WSL version on WSL2 by default.
Run the following powershell script:
wsl --set-default-version 2
If you use Docker with WSL version 1, we can skip this setting and apply it only to the distro itself.
This can be done after the installation of the distro itself.
Install Linux
The easiest way is to use the Microsoft Store for this.
Search here for “Linux” and you get an extensive list of Linux versions.
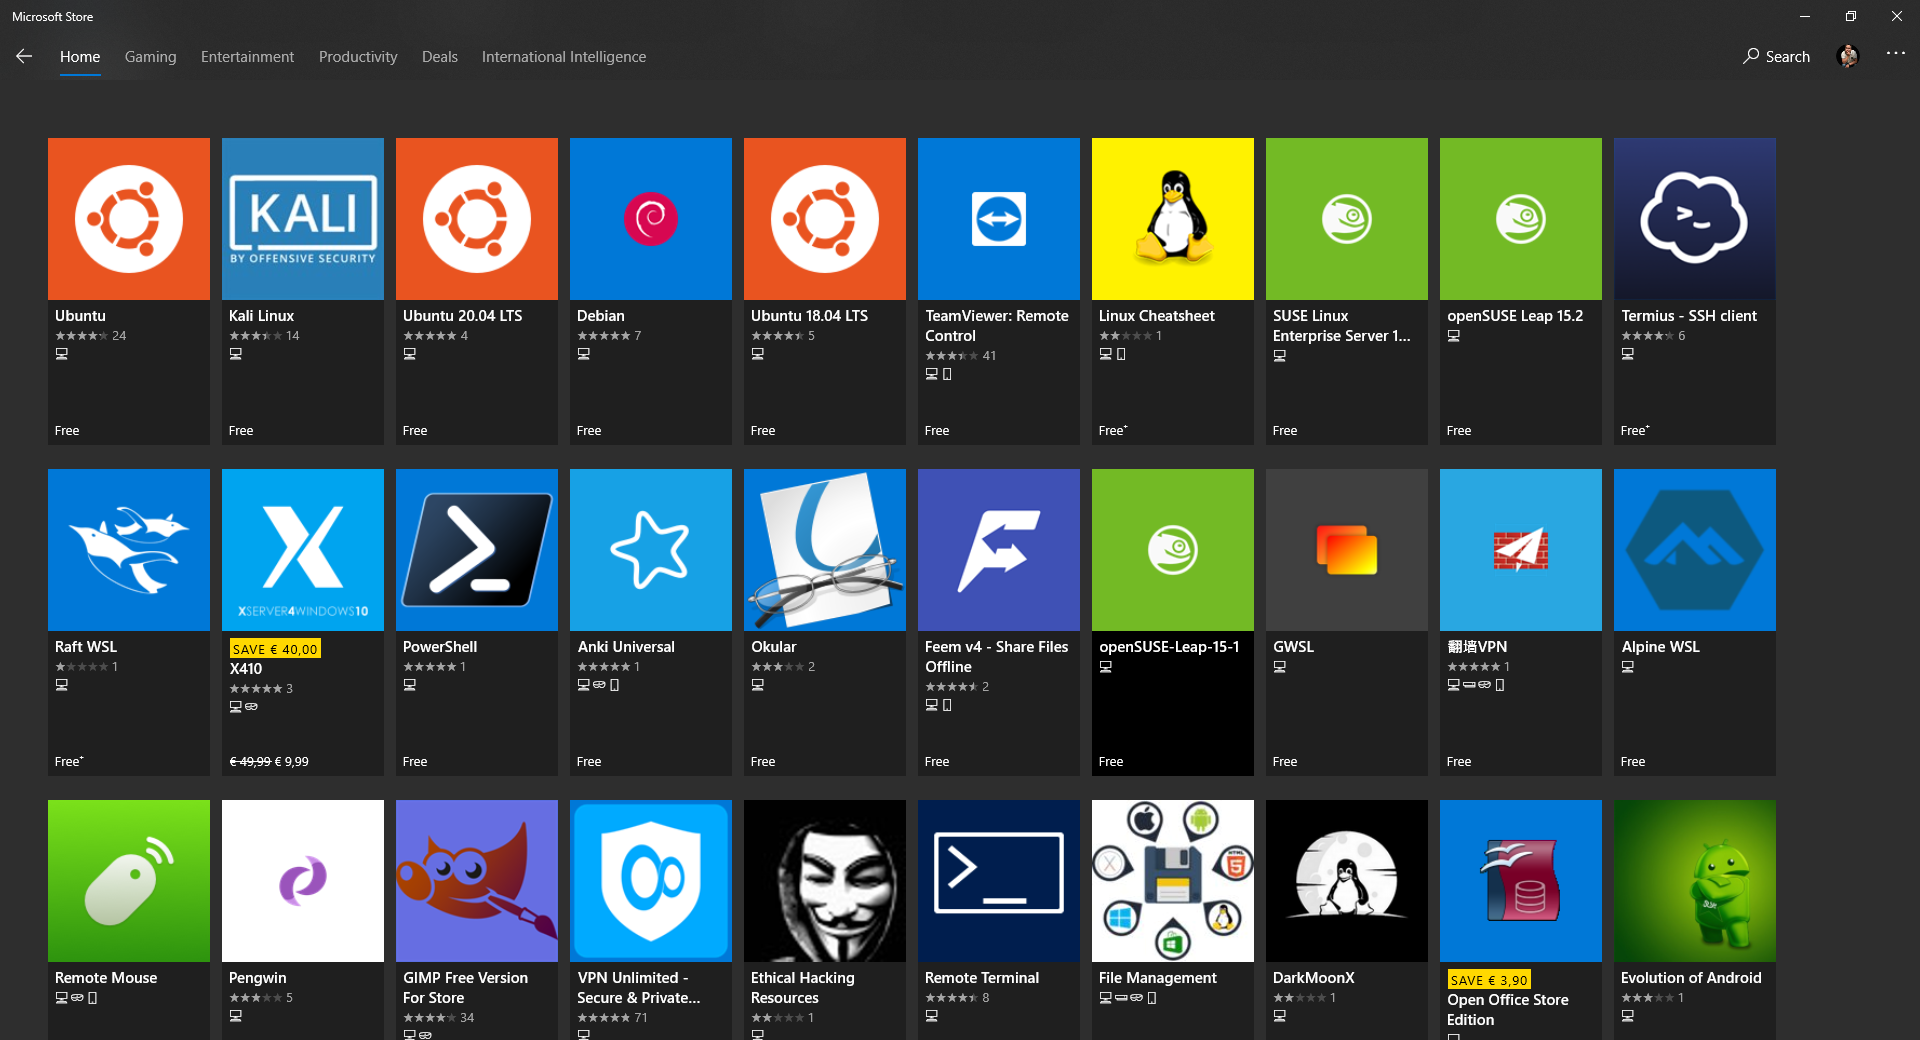
I myself will use Ubuntu 20.04 LTS.
As soon as you click install, Windows opens a command prompt, downloads the files and installs them for you.
It’s that easy.
Once the installation is complete, it will ask you to create an account and set a password.
Once you’ve done this, you’ve successfully installed Linux and are ready to move on.
There are plenty of resources on the internet to find out how to do this in detail.
Update Linux
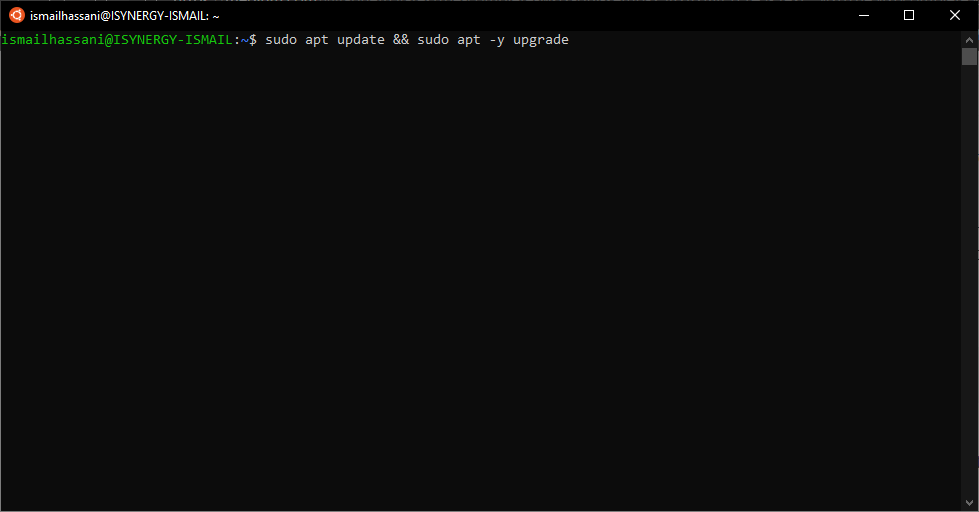
Before we go any further, we’re going to update Linux first.
To do this, we use the following command you enter in Linux terminal:
sudo apt update && sudo apt -y upgrade
 Depending on your internet speed, your system should now be updated and you can now install any Linux software you want.
Set up WSL version
So if you have multiple distros and/or also use Docker, it’s useful that you can set the version per distro.
For this we carry out a number of commands.
List of all distros
wsl -l -v
This command will give you a list of all WSL distros and their version.
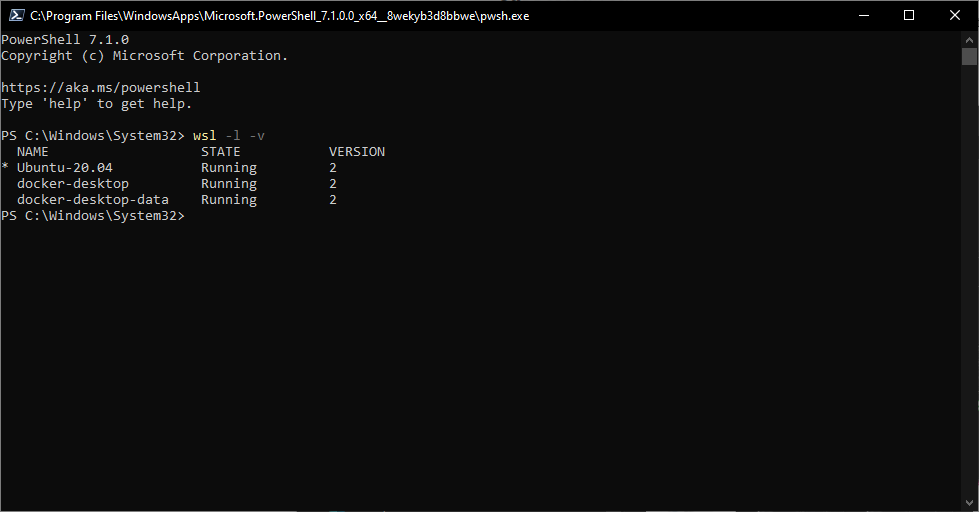 In my example I have an Ubuntu and 2 Docker registrations all running on version 2.
Update WSL version of distro
If there is a Linux version with version 1 you want to use, you will need to update it with the following command.
wsl --set-version Ubuntu-20.04 2
Once this has been done, you can check your changes using the wsl -l -v command
From this point I will deviate from the documentation of Uno Platform.
Setting up the GUI
WSL2 itself does not support a graphical user interface (GUI).
To bypass this limitation, we will install an X-Server after this step.
Let’s start by installing a desktop environment first.
Note that some desktop environments like Gnome give some issues in WSL2, so I chose xfce4 (xubuntu desktop).
This one is stable enough and our distro already contains some components of it already.
To do this, we first execute 2 commands in our Linux terminal
sudo apt install -y tasksel
sudo tasksel install xubuntu-desktop
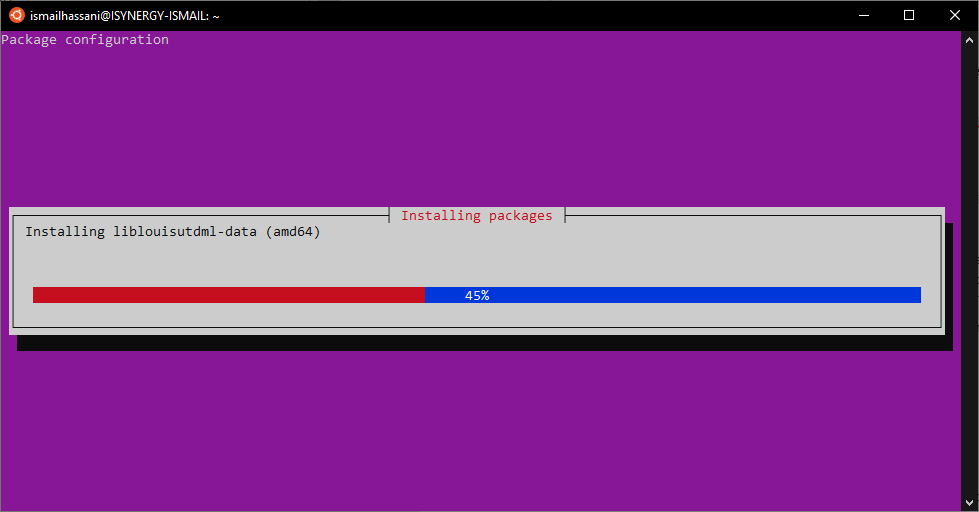 A colored screen will show up that will install the desktop environment.
Depending on the disk size and the files that are on your system, this process can take some time.
After this we install the gtk2 libraries with the following command.
sudo apt install gtk2-engines
Installing a X-Server
This software converts image and keyboard/mouse information to a graphic window. This information is sent over the network to the X-Server that can display it.
There are many sources like this video and this link available on the internet that explain this very nicely.
Although this is a fairly old technique, it works perfectly for our purpose.
There are several X-Servers for Windows. One of the best known is VcXsrv which is also free.
I have chosen x410 (paid) which seemed slightly more stable and also easier to install. The x410 website has detailed guides on how to get started with Linux WSL2 GUI apps so I won’t be going through it here.
Linking the Linux display to the X-Server
Unlike WSL1, you cannot use 127.0.0.1 or localhost to connect back to Windows in WSL2.
When you start WSL2, it gets its own IP address and works more like a Hyper-V virtual machine.
Microsoft seems to be working on changing this behavior and planning on supporting shared loopback addresses just like WSL1 but it seems not happened yet.
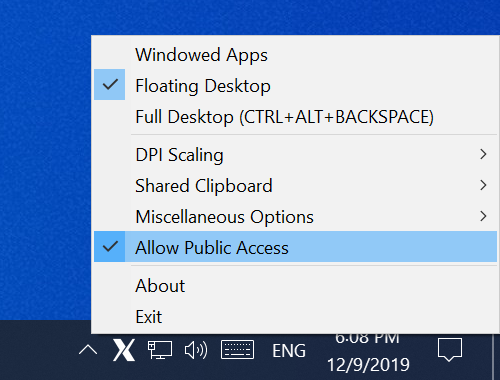
In order to use X410 with Linux GUI apps or desktop environments running in WSL2, you need to make the following changes:
Enable ‘Allow Public Access’ option in X410
Now we need to let Linux know where we want to send the display output to.
Compared to WSL1, WSL2 is assigned a dynamic address by Windows. This means we have to retrieve and set up the IP address on the fly.
This can be done with the following commands:
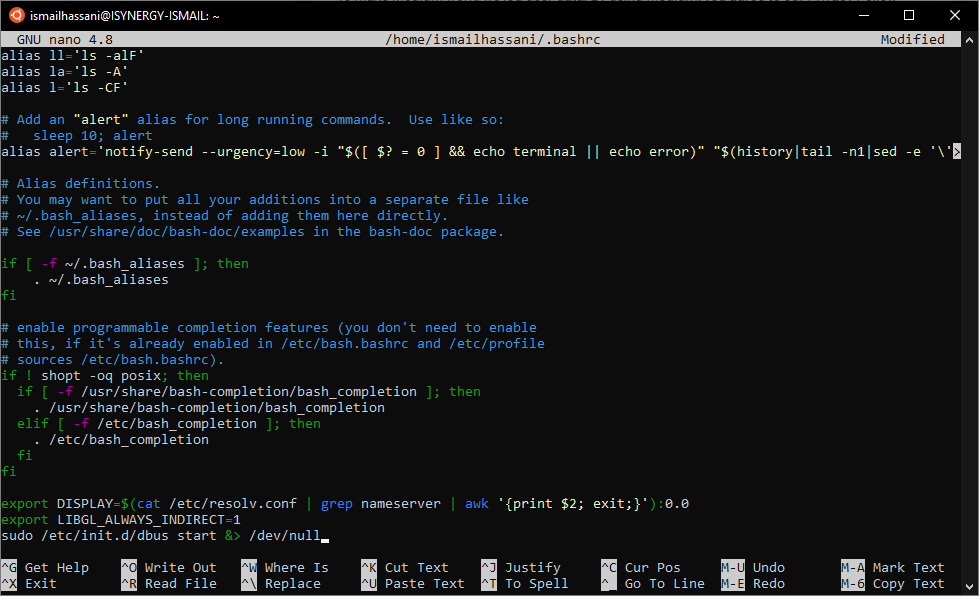
export DISPLAY=$(cat /etc/resolv.conf | grep nameserver | awk '{print $2; exit;}'):0.0
export LIBGL_ALWAYS_INDIRECT=1
sudo /etc/init.d/dbus start &> /dev/null
However, to avoid having to do this every time we start up the terminal, we add these rules to the .bashrc file.
Run the command below and scroll all the way down and add these lines.
sudo nano ~/.bashrc
Close the file and save the changes.
To avoid having to give a password each time we start the terminal, we can create the a /etc/sudoers.d/dbus file with the following content.
your_user_name ALL = (root) NOPASSWD: /etc/init.d/dbus
This does come with risks but it should be ok for most.
You can read /etc/sudoers.d/README for more information. You’ll need to use the sudo prefix to create the dbus file as well as to read the README.
Testing our setup
To apply the settings we made we must close the terminal console and restart it.
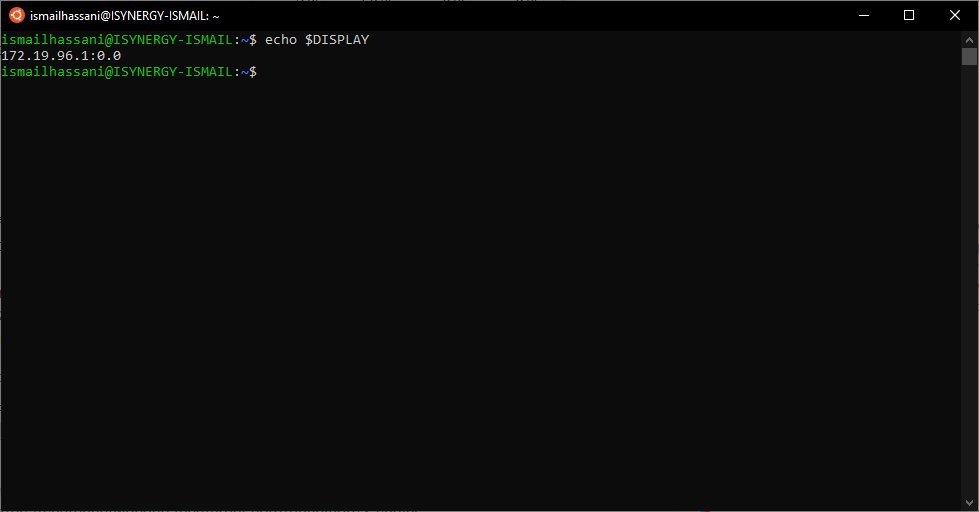
To check which IP address we get back we execute the following command:
echo $DISPLAY
If all went well, this should give us the IP address back.
Running a Linux application
Now we’re really going to test the UI by opening a linux notepad.
On Ubuntu Mousepad is installed by default. To run it, simply type the following in your terminal.
mousepad &
The ‘&’ after the application name runs it in the background so you can still use the terminal. If you choose not to run applications in the background you’ll have to open a new terminal if you want to do other tasks in your Linux operating system.
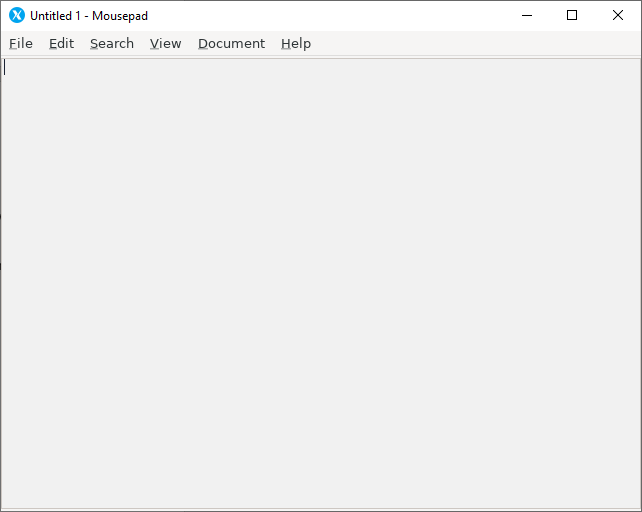
Sweet!
Running the Linux desktop environment
The beauty now is that you can even run the Linux desktop.
To run a complete Linux desktop, you’ll need to change the display settings in X410. You can either select ‘Floating desktop’ or ‘Full desktop, but I would recommend starting with the former. Then follow the same steps described above and jump into your Linux terminal and use the following command:
xfce4-session
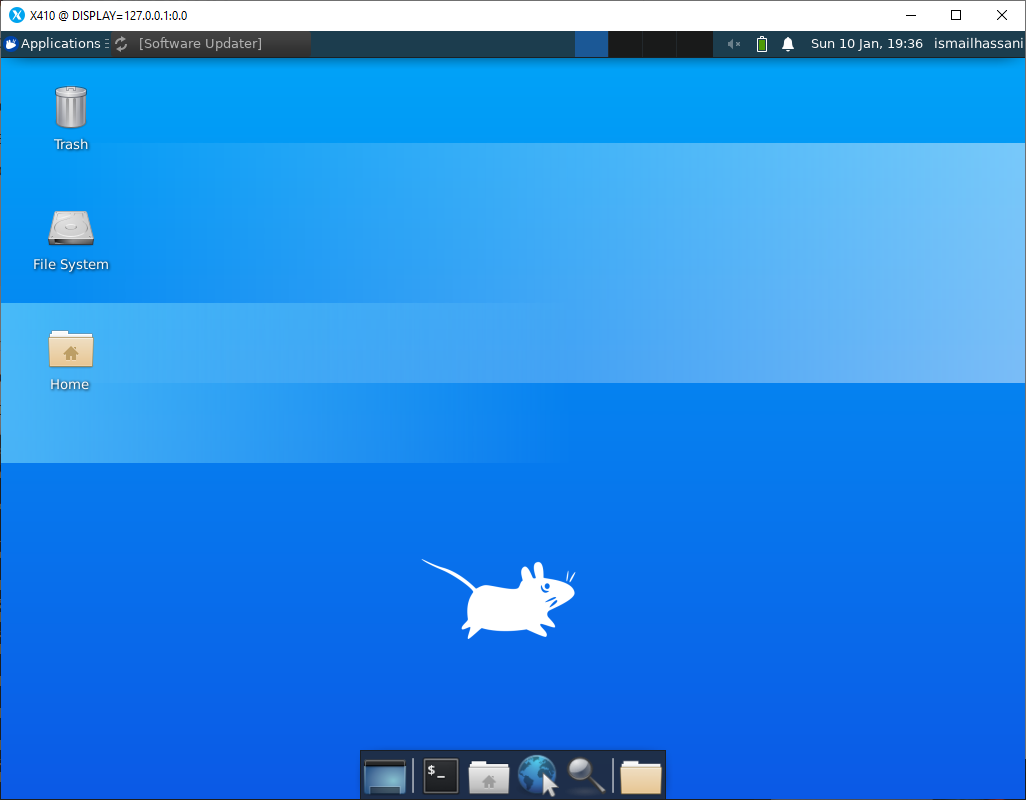
This launches the xfce4 desktop installed earlier and you’ll have access to a working Linux desktop.
There will be some errors in the terminal and there will always be a popup in the desktop, just cancel it and use the desktop as you please.
Congratulations!!!
I’ll remind you again that GUI applications aren’t supported yet so there may be glitches and errors from time-to-time but I’ve not experienced anything catastrophic yet.
Thank you for your time and stay safe!