Uno Platform - Part 1
Prerequisites for your development environment
Hi folks,
In order to install or use the Uno Platform at all, we first need to arrange a number of things in advance. These steps are necessary because otherwise you will end up with all strange and vague errors especially in the Android head because the SDK’s were not properly installed or were even outdated.
SDK’s
So the first step is to make sure that there are some SDK’s installed in Visual Studio
- Open Visual Studio Installer for this purpose.
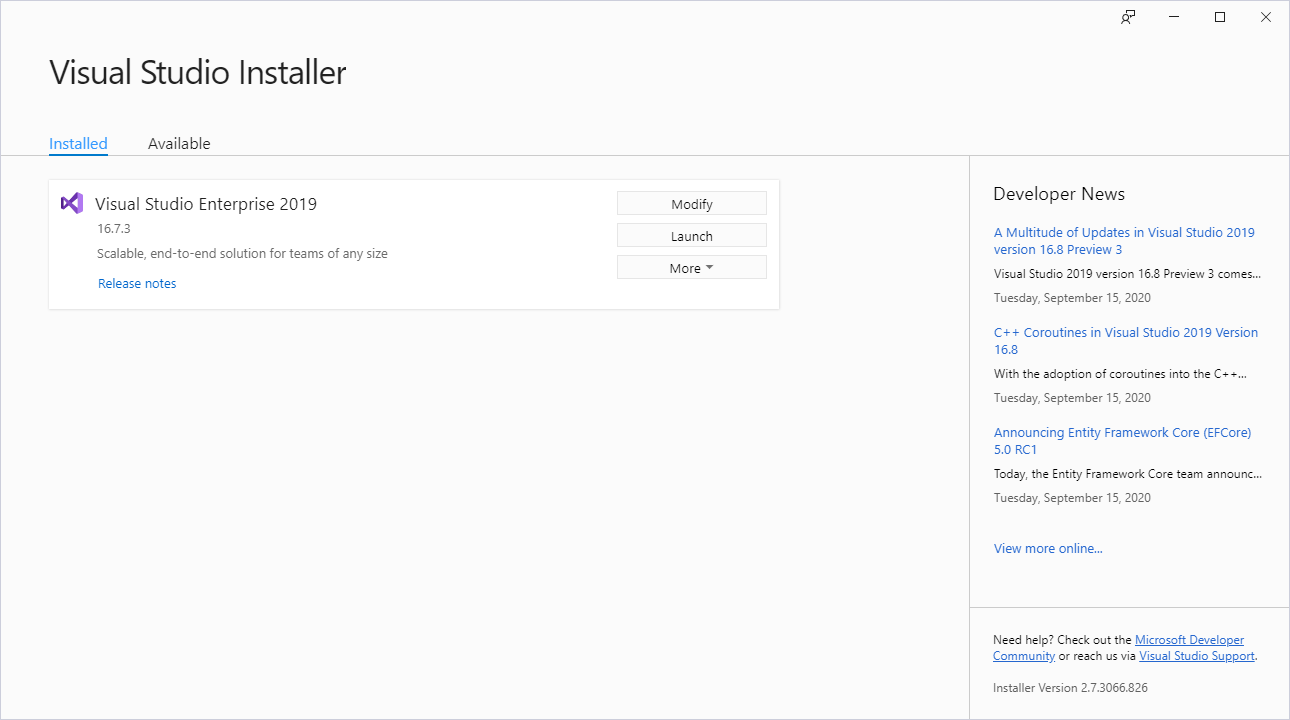
- Choose the version e.g. Visual Studio Enterprise 2019
- Press the “Modify” button
- Select the “Workloads” tab and check the following items
- Asp.Net and web development
- .Net Core cross platform development
- Universal Windows Platform development
- Mobile development with .Net
- Select the “Individual components” tab
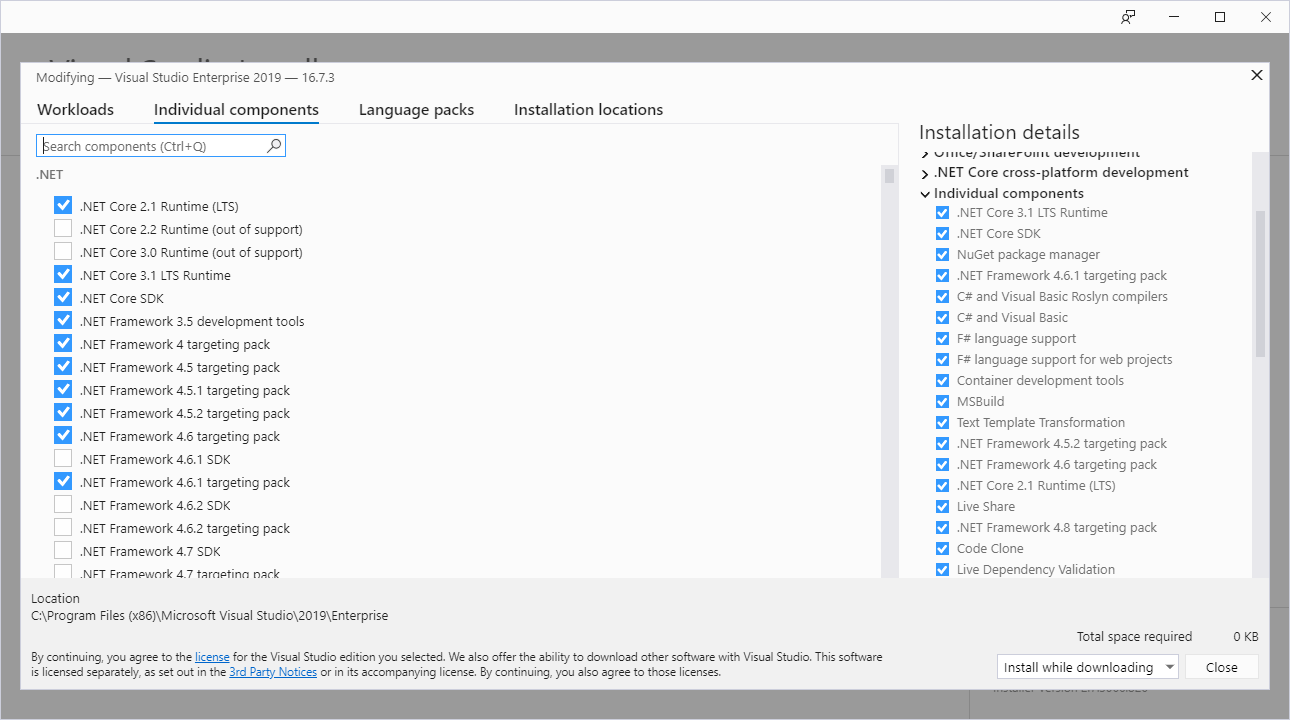
- Check if the following items are checked
- Xamarin
- Android SDK setup (API level 28)
- Windows 10 SDK 10.0.16299.0
- Windows 10 SDK 10.0.17763.0 (or later versions if desired.)
To check that the Android head is working, I recommend creating a test project “Android App (Xamarin)” project next and starting it.
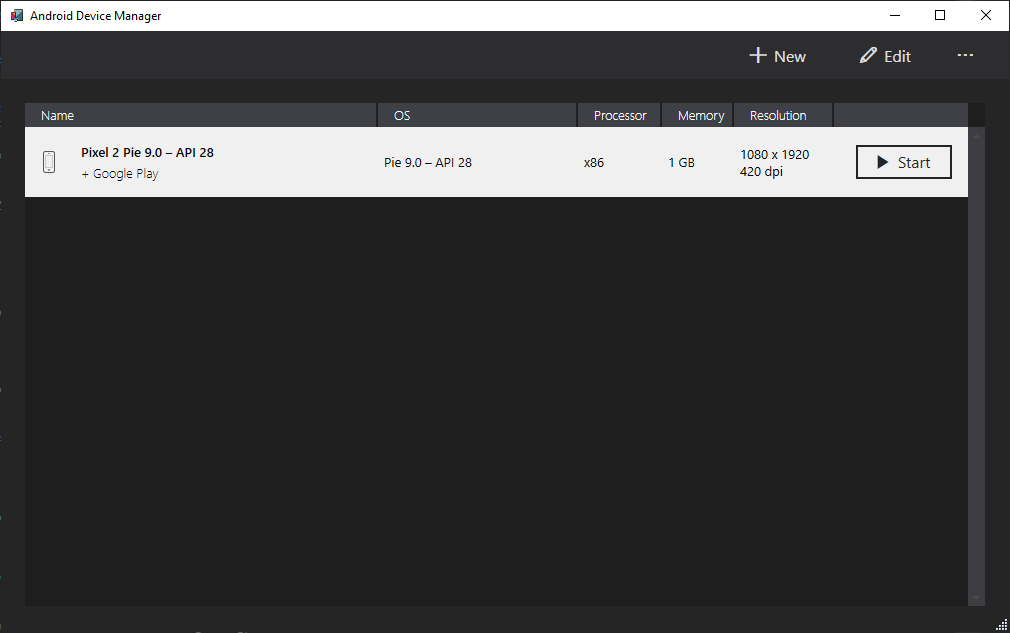
It’s likely that the first time you will be asked to create a first virtual device in Android Device Manager. Make sure you use the correct Android version to match the SDK you installed. I chose Android 9 (API 28).
When running this test application, android opens the emulator and this head will be installed on the emulator and the app should eventually be visible.
This can sometimes take a while to see something depending on how fast the deployment is. With me, it got stuck the first time and I had to restart the deployment.
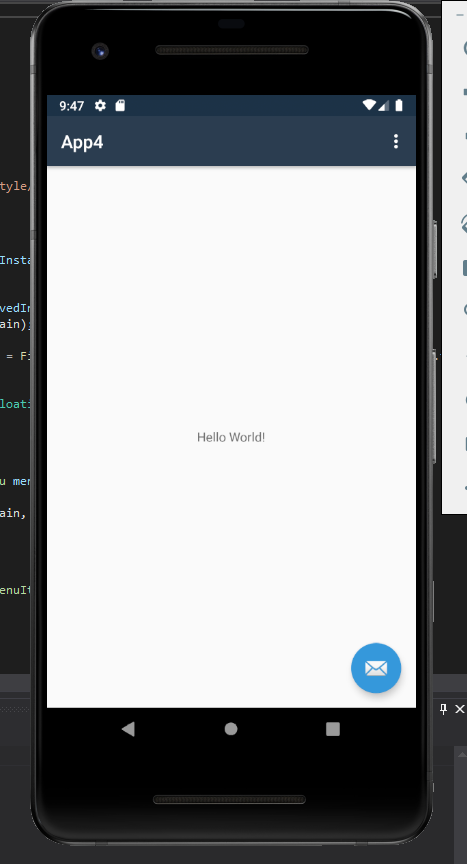
If we see the app then that means that the emulator works well for the Uno Platform.
Now let’s move on to the next step.
Extension
If you’ve closed Visual Studio, restart it to install the required extensions.
This extension is a project template responsible for creating the right solution layout with projects for every head.
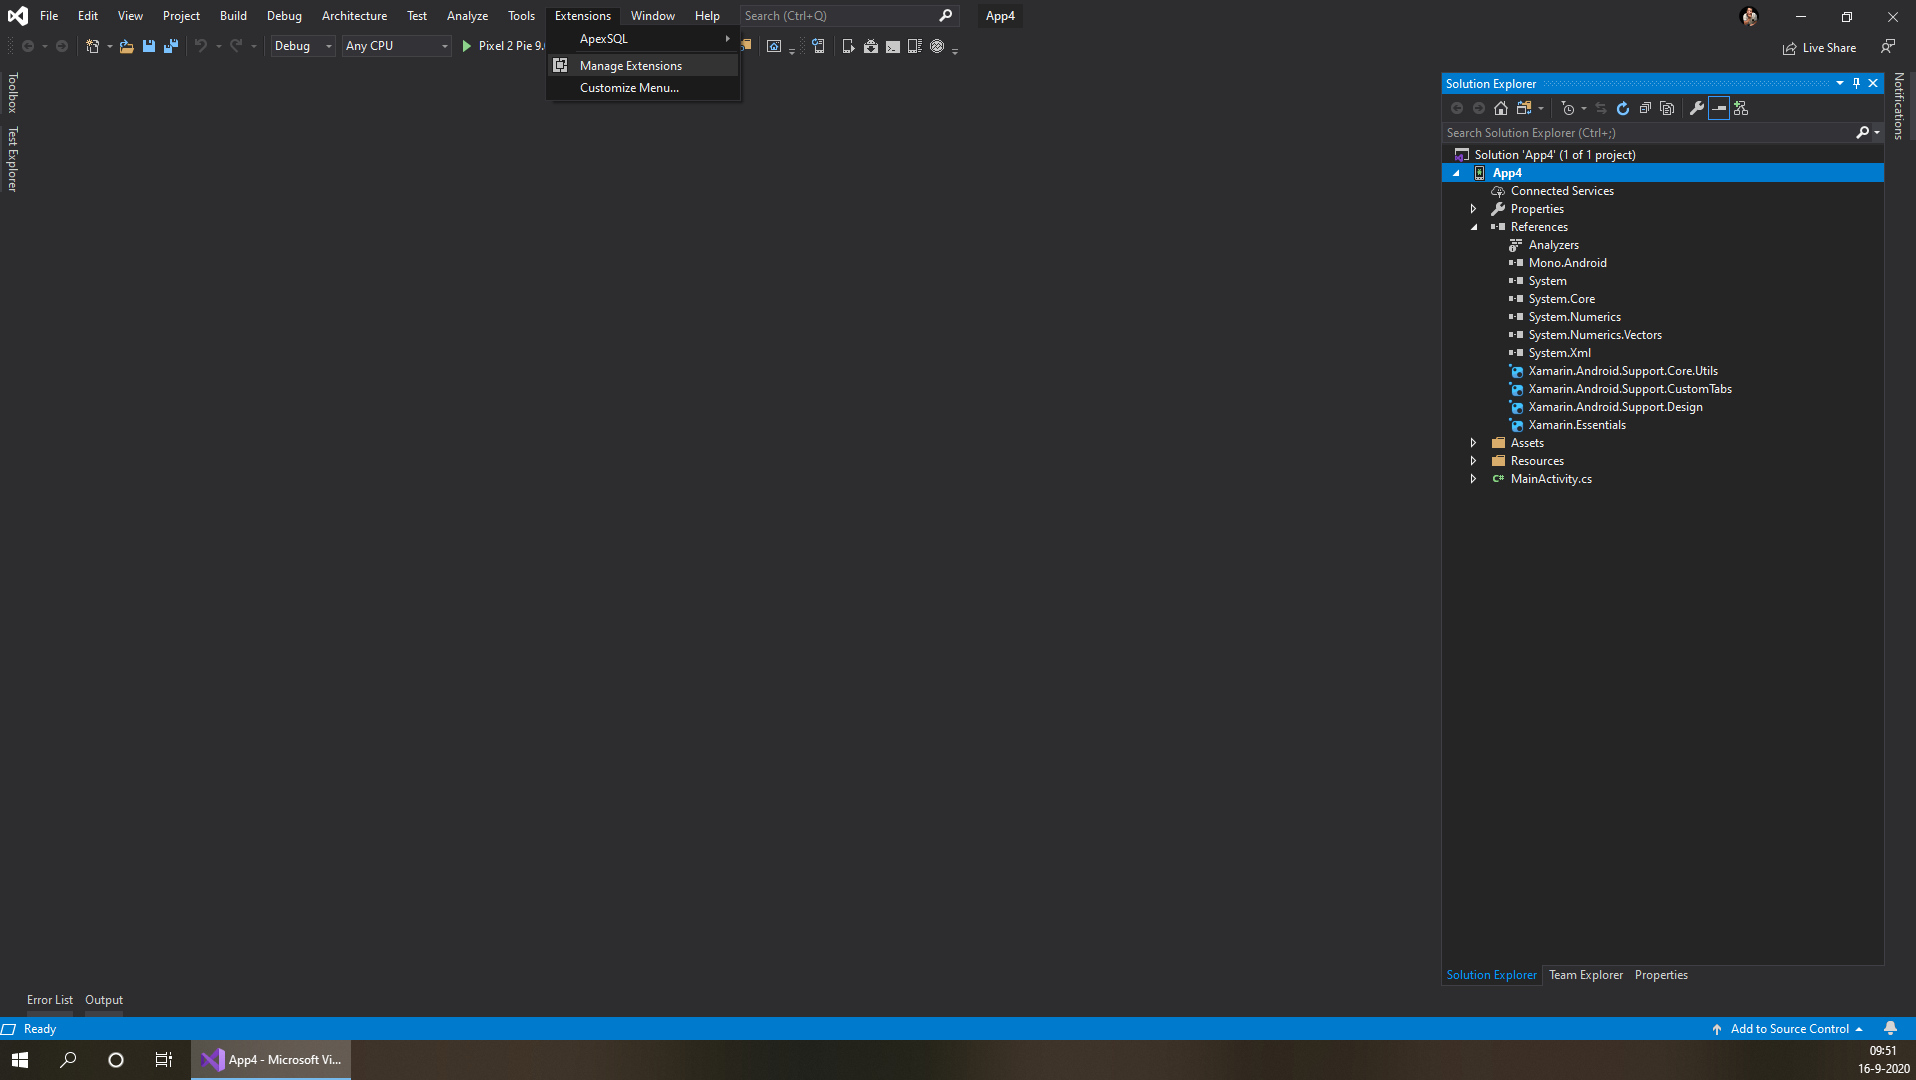
- Click “Extensions” on the menu in Visual Studio, and then click “Manage Extensions”
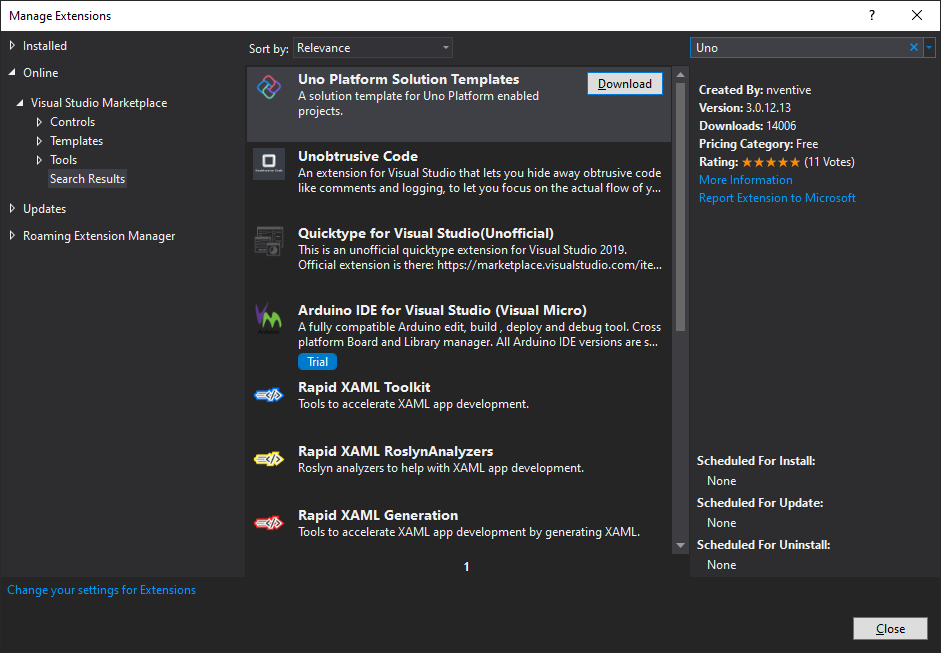
- Type in the “Uno” search window
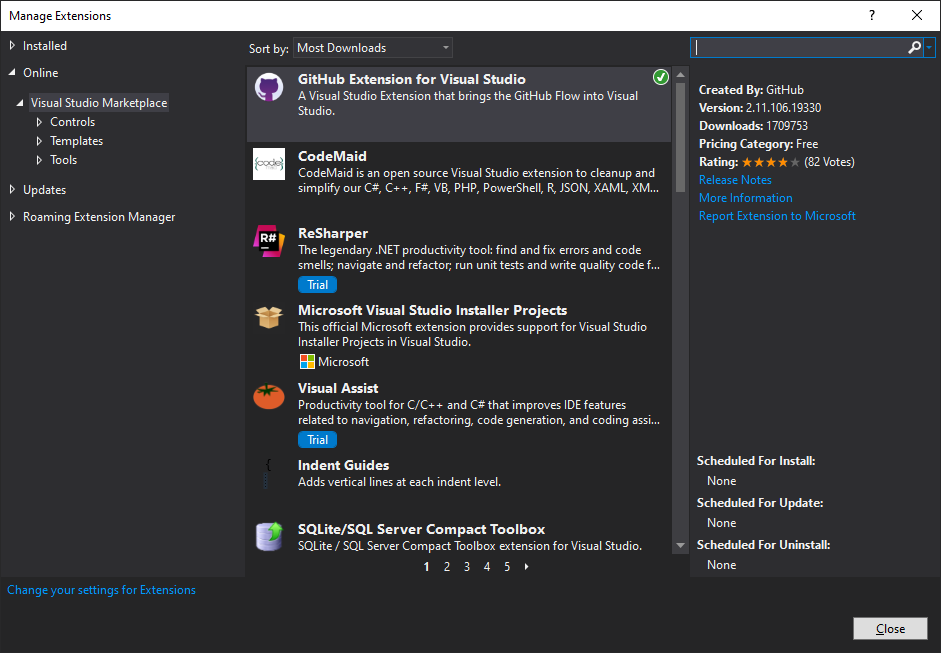
- Under “Uno Platform Solution Templates”, click “Download”
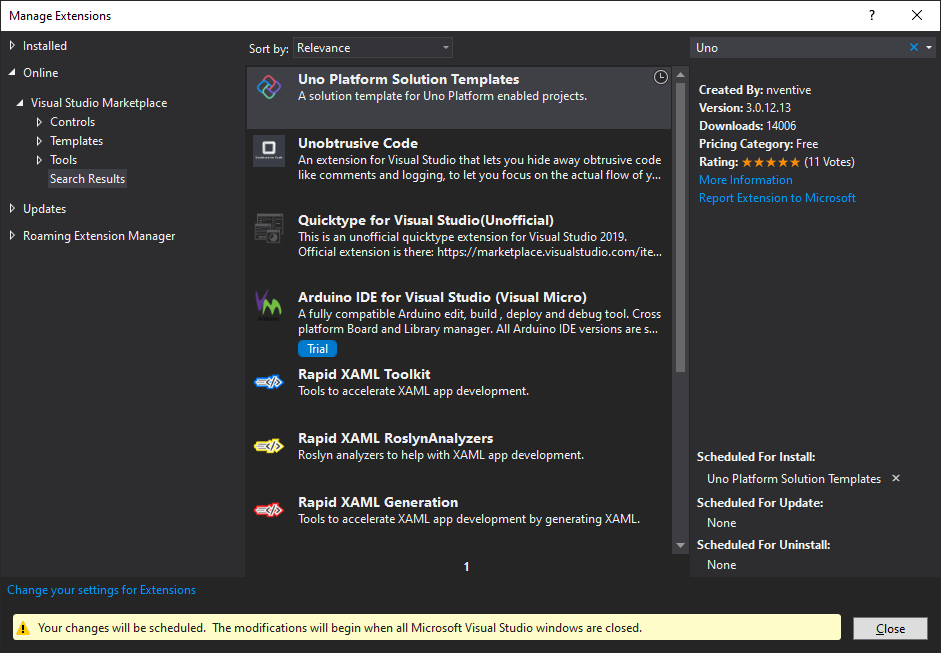
- To complete the installation, visual studio needs to be restarted. Close the screen and close Visual Studio.
- Press “Modify” in the VSIX Installer
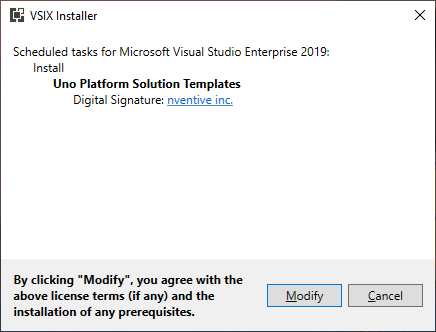
- If the installation has been successful, you can close this screen.

Testing
To test if everything works, we’re going to restart Visual Studio and make another test project for Uno.
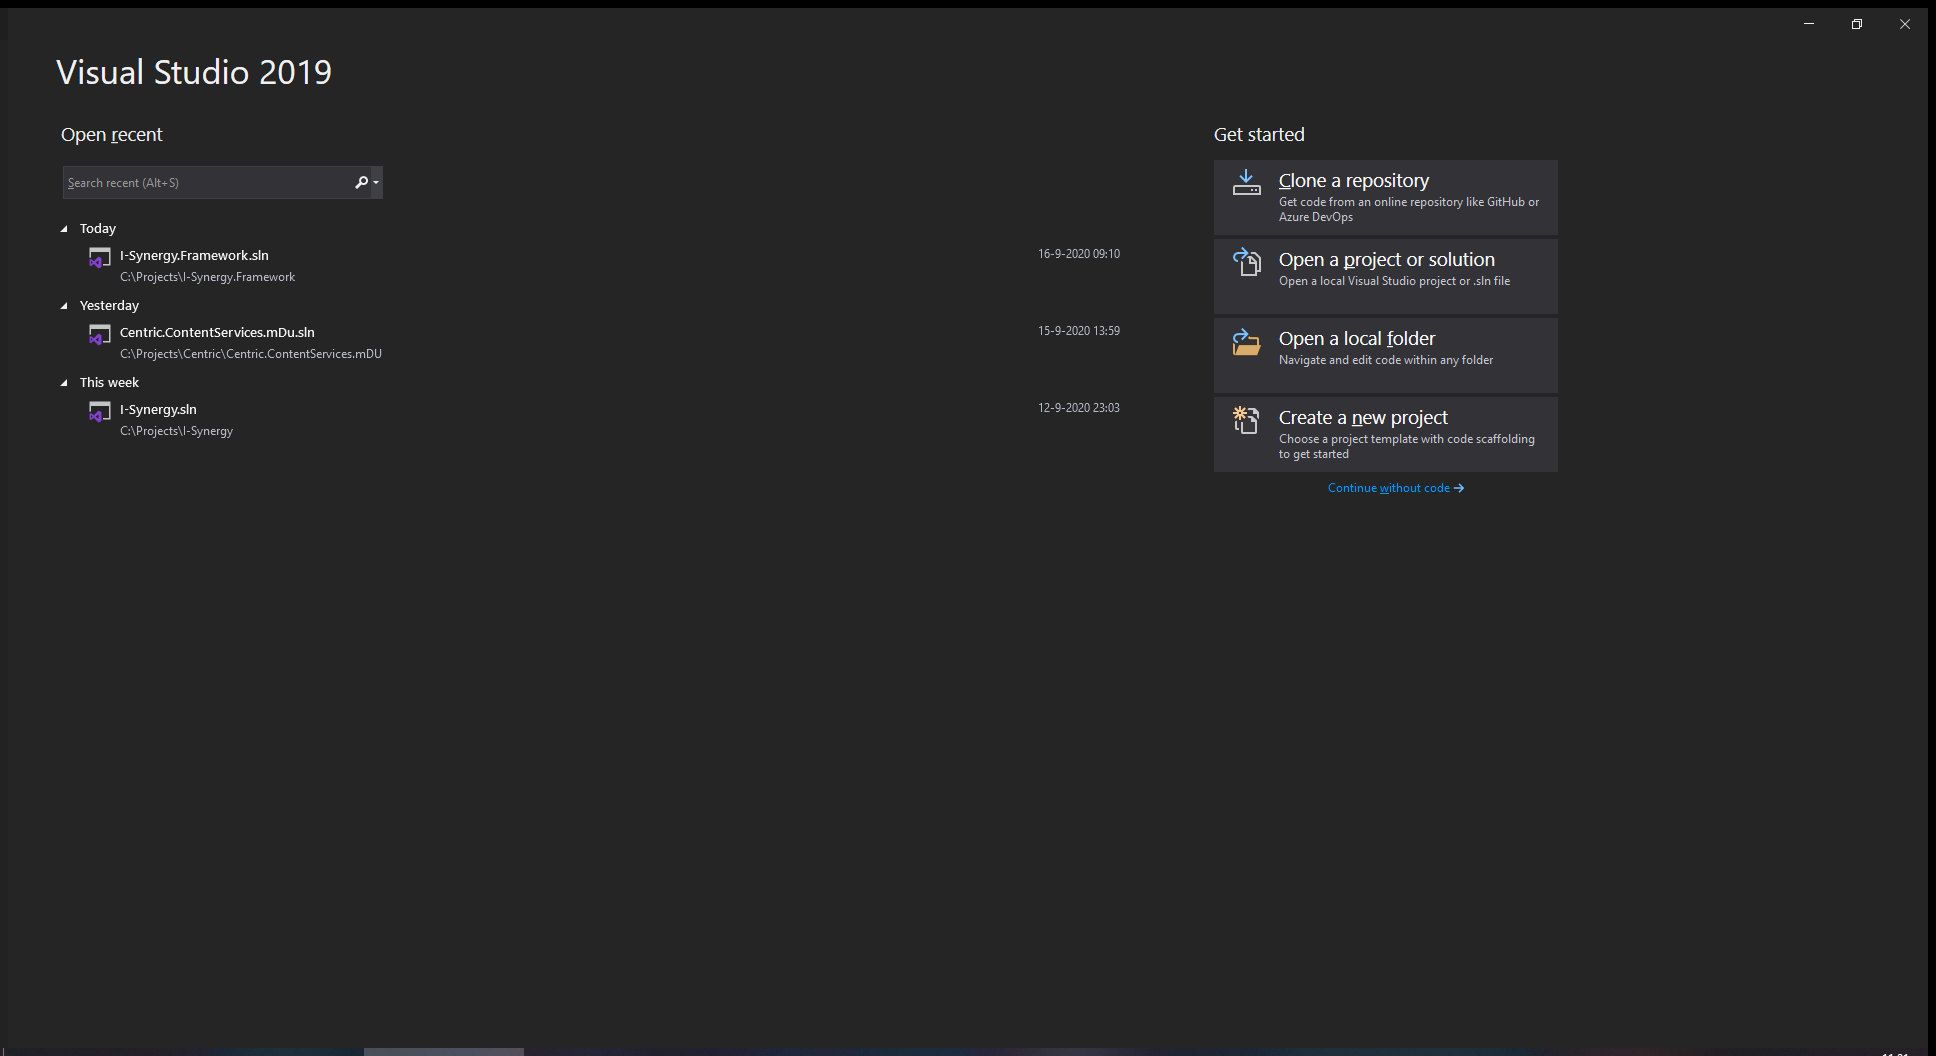
- Start Visual Studio
- Select the “Create a new project” option
- The newly added templates are at the top, otherwise you need to search for “Uno”
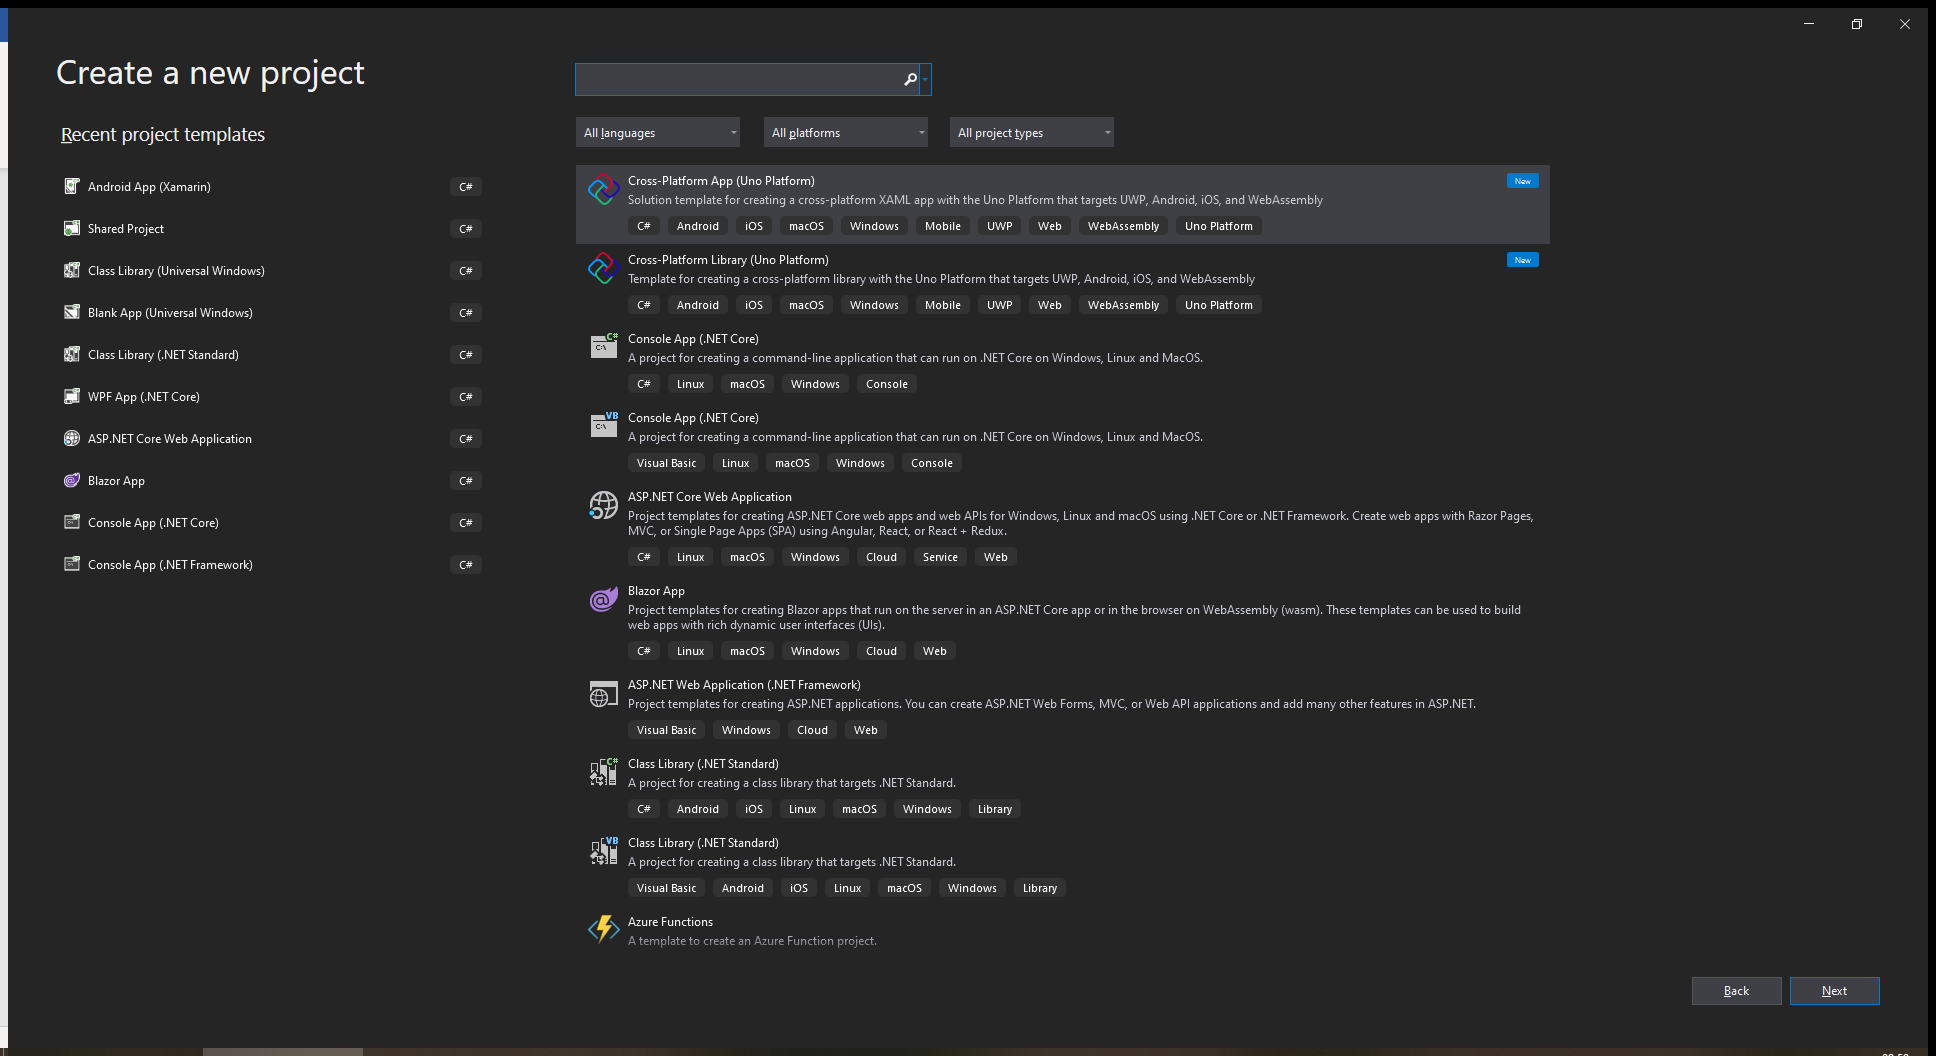
- Select “Cross-Platform App (Uno Platform)” and click “Next”

- Adjust the storage location for your project if necessary, click “Create”
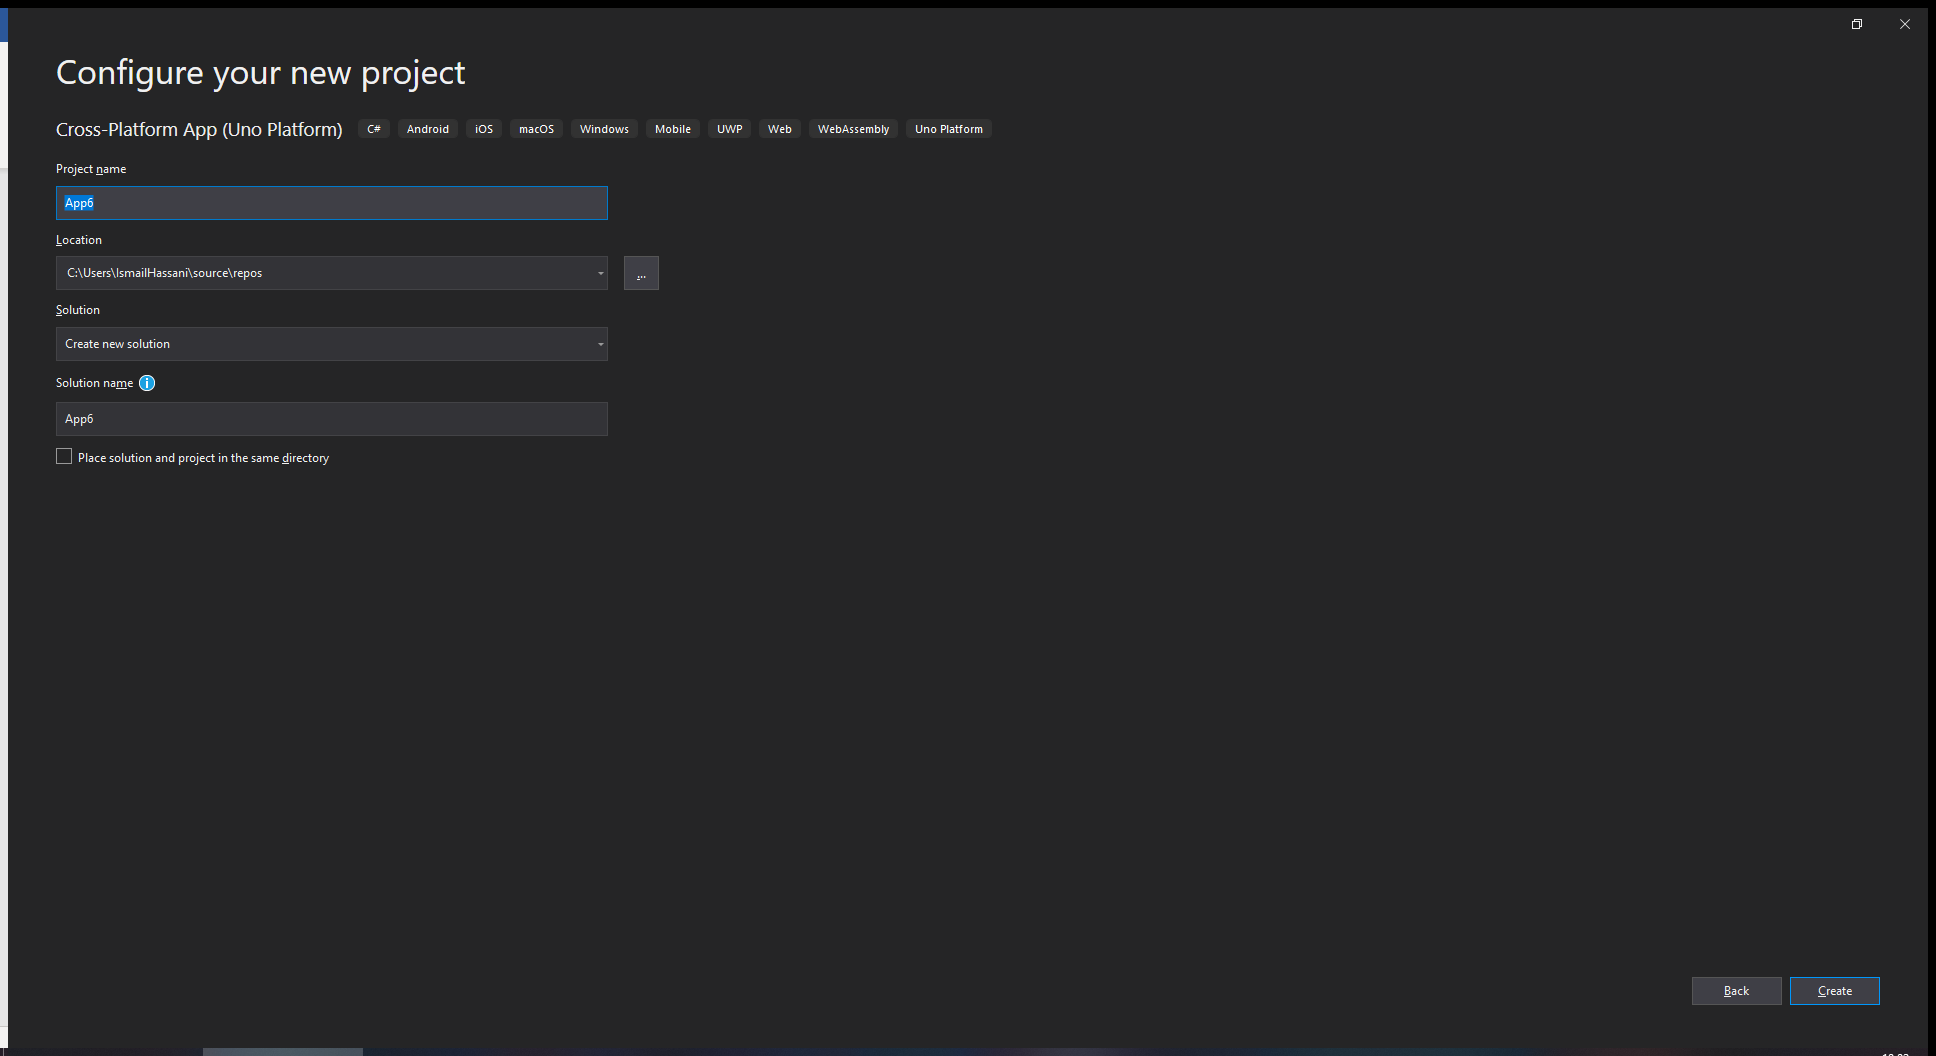
This process takes a while because all nuget packages are downloaded, but eventually you have a solution with an Android, IOS, macOS, UWP and WASM head.
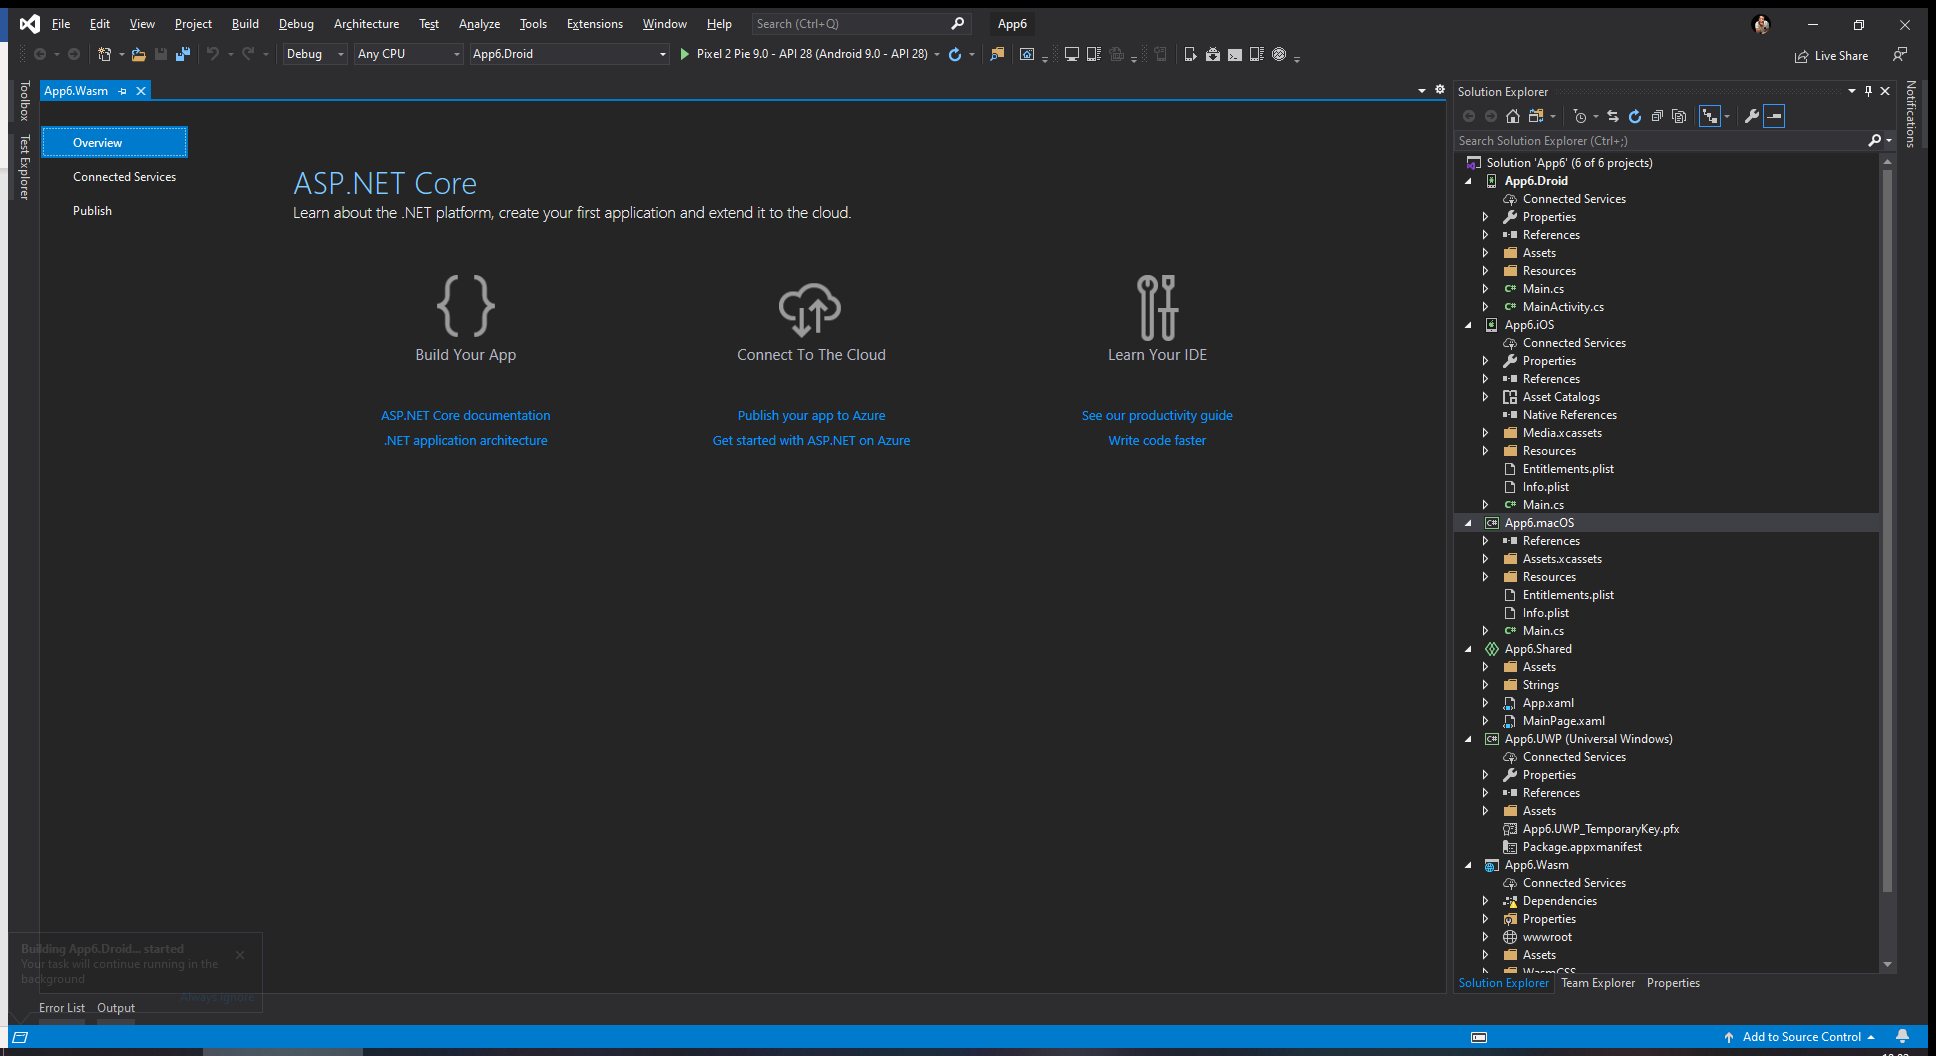
To see if the apps work, we start each head separately. Since I don’t have an Apple I won’t be able to run the IOS and MacOS head. We’ll see.
Result
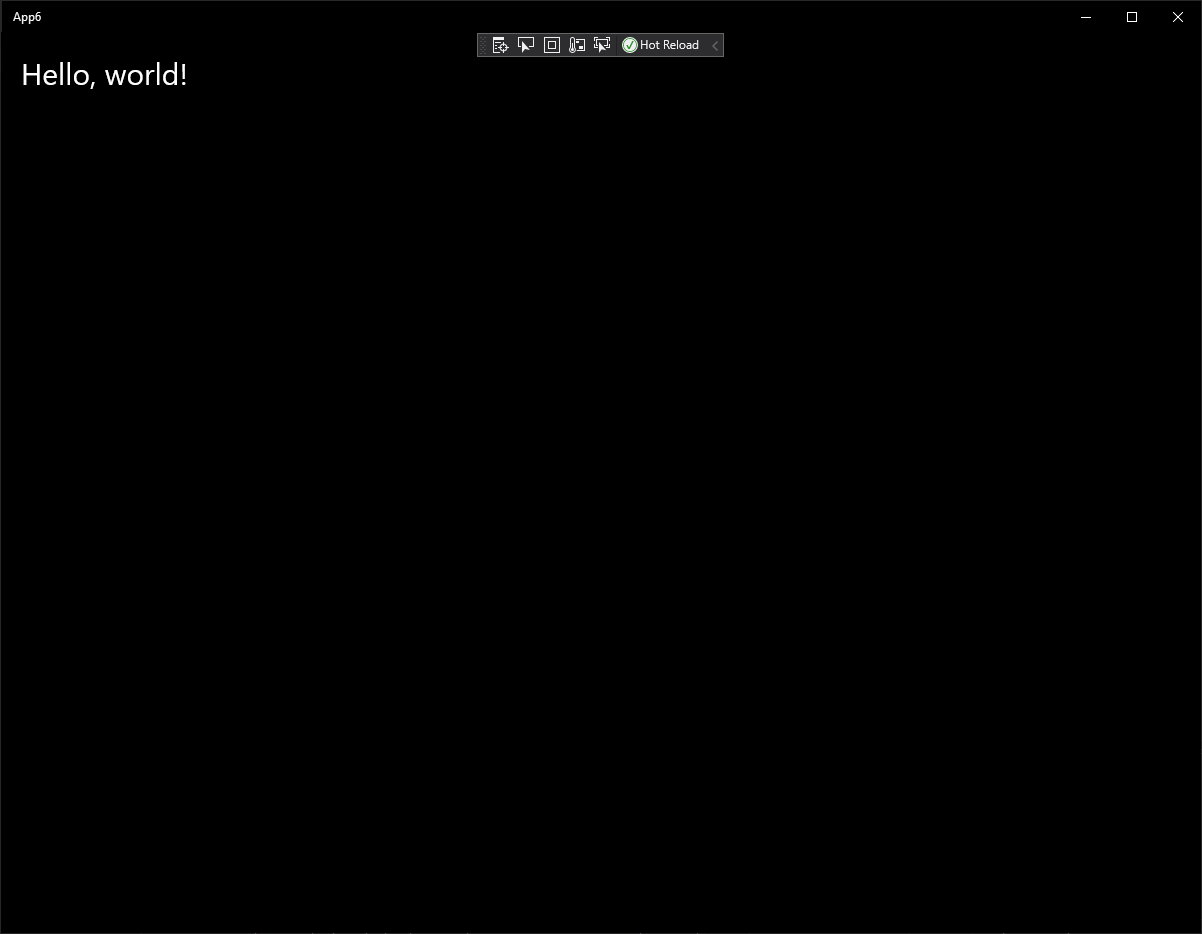
Windows (UWP x64)
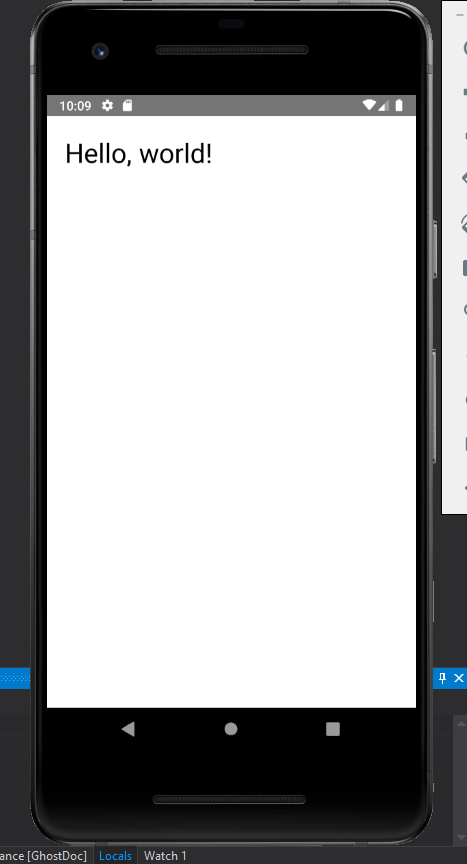
Android
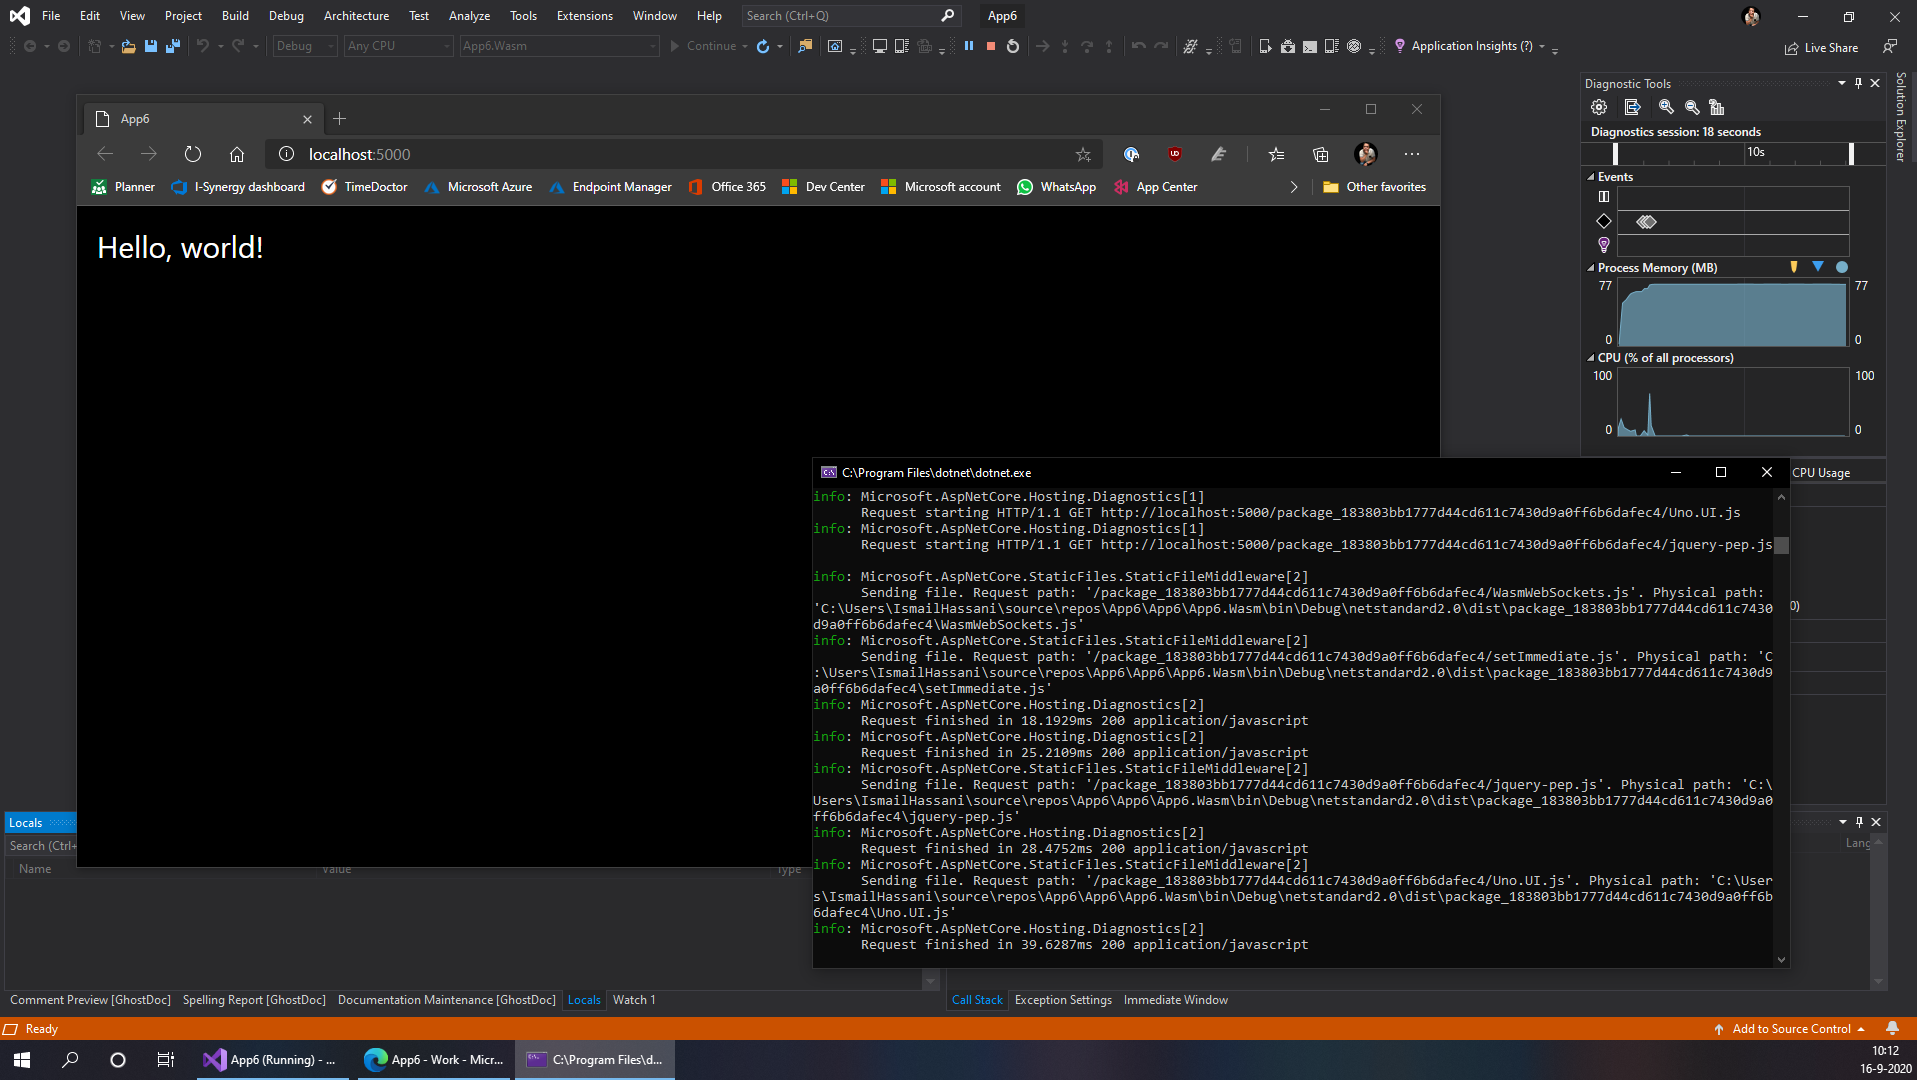
WASM (.Net Core)
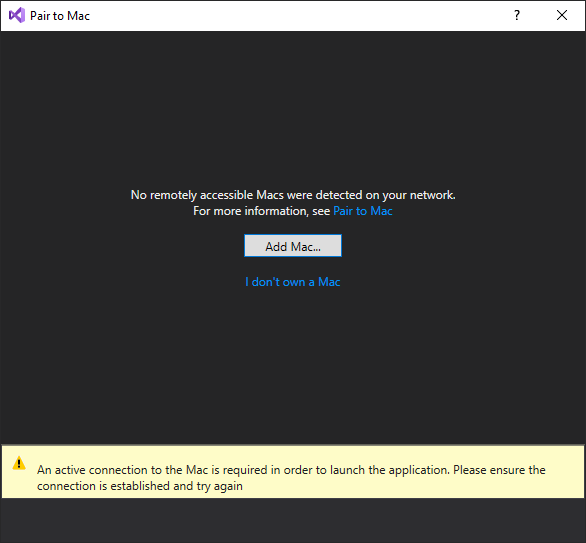
IOS and MacOS
As I expected, I can’t run this version because I don’t have a mac.
I’ve had a HyperV MacOS VM in the past but that’s just a little too far for this example. Hopefully there will come a time when this is no longer necessary and we can just build IOS apps on a Windows machine.
All in all, we now have a working environment where we can finally create Uno Platform apps.
Till next time 😉